The plan for the Tetter Totter is to make it look like a fallen branch is laying over a tombstone. With the mechanics of the teeter totter all figured out it is time to work on the covering. Knowing that the actual structure and mechanics of the teetering mechanism will need to be able to slide back and forth to accommodate the leaning of the skellies, we need a covering that is hollow. The first thing that immediately came to mind was pool noodles. Pool noodles are foam, hollow, and easy to shape and manipulate. I looked in our supplies and realized I had committed a cardinal sin. I didn’t have any pool noodles in stock, so I ran to both Menard’s and the dollar store and picked up a bunch in varying colors and sizes. (It’s not a bad idea to stock up at the end of the season when they are on sale, they come in handy for a LOT of projects)
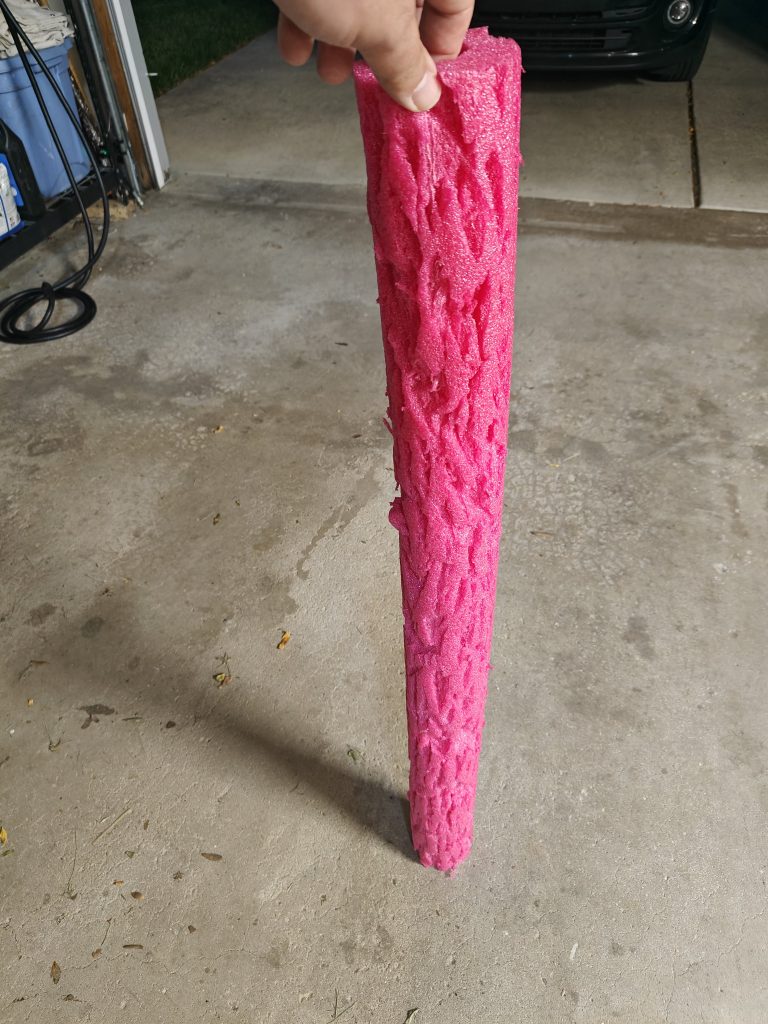
Once I had the pool noodles in hand I started experimenting with turning their surface into bark. Since it was a nice evening out, I went over to the tree in front of the house and stared at its bark for a bit of inspiration. One key thing I noticed was how the raised areas tend to alternate. I then took a small curved pick and started making long shallow slits and smaller tears into the surface of a pool noodle. Once I had the noodle all gouged up I took a few minute to look it over. It looked decent, but the edges of the tears looked too sharp and unnatural.
What to do? I broke out the heat gun. The texture of a pool noodle changes when heated with a heat gun. (It’s also the BEST way to adhere pool noodle foam together) So I started experimenting with the heat gun on my carved noodle. After a bit of trial and error the texture began to look much better and I was pretty pleased with the result. I quickly carved few more noodles and then textured all of them. (Or so I though)
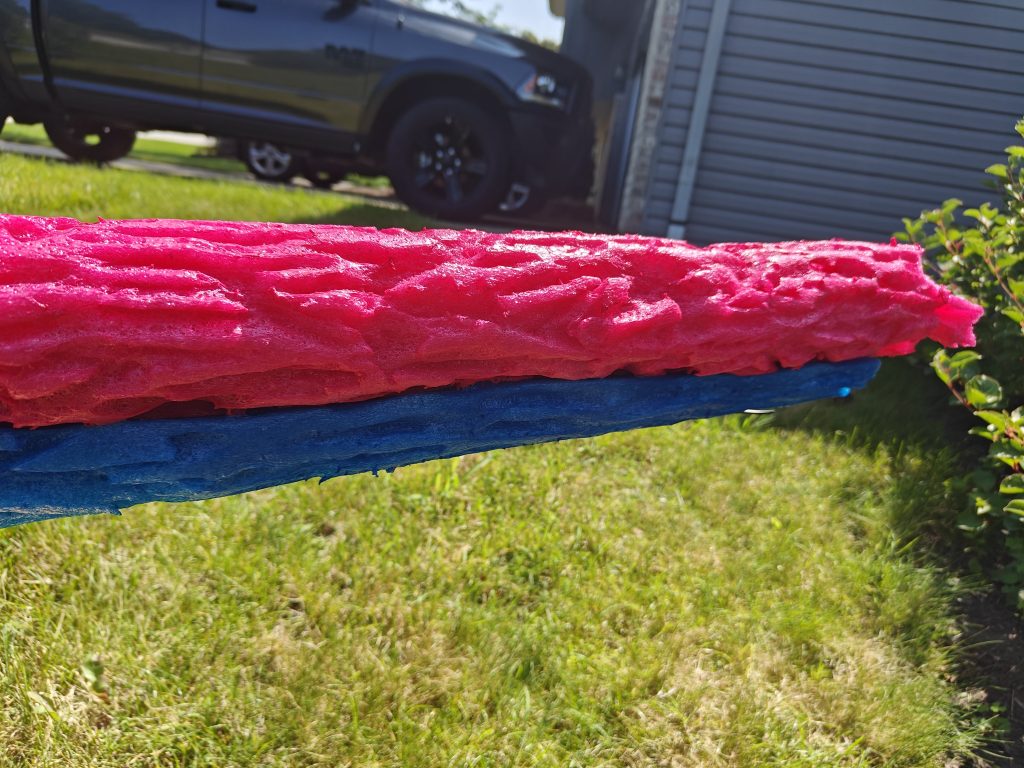
Once they had all* been carved and textured I test fit them to the tetter totter mechanism so that I could cut them to their rough lengths. I cute the needed holes for the all thread rod for the skellies and the slot for the motor arm. I made sure to make the pieces for the ends jagged so the branch would look broken. In order to accommodate the sliding bar in the mechanism the lower noodle was cut in a way that it could fit over the arm and be fused to the other piece using the heat gun.
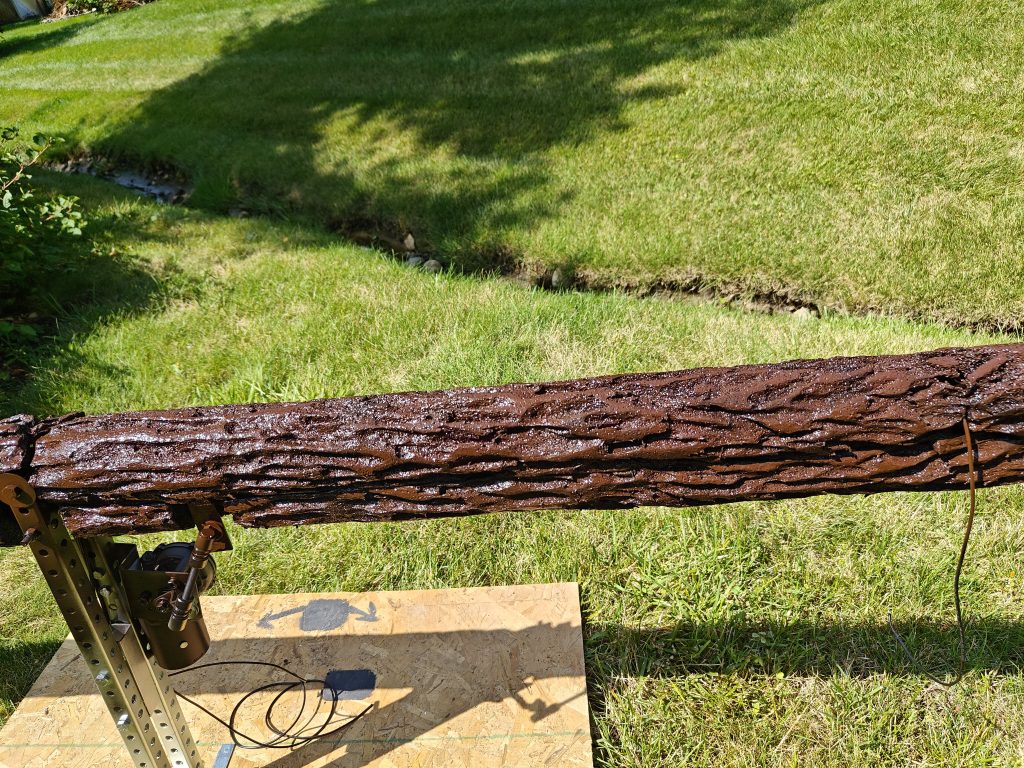
Once the foam was attached to the arms of the teeter totter it was time for paint. I first hit everything with a base coat of black paint to make sure there would be good coverage over the hot pink and blue pool noodles. (I really need to make it a point to find less brightly colored pool noodles.) Once that dried it was time for the real color. Now every young child with a box of crayons knows that tree trunks and branches are brown. So I broke out the brown paint and painted everything brown. I stepped back expecting to be trilled with my amazing branch and I was immediately appalled. “Why does this look so insanely fake?” My brain just wouldn’t accept this as a tree branch. Frustrated, I walked across the street to the undeveloped wooded lot and picked up a couple of branches. The texture felt about right. (My gouges are deeper than natural branches the size of this faux branch but that was mostly intentional so that the texture wouldn’t be lost from the 20 ft viewing distance.) So texture wasn’t the problem… I painted it brown, everyone knows… that… trees.. are… uh… wait, they are not actually brown…
So, I looked closer, I REALLY looked at the colors I was seeing instead of just letting my brain “macro” in the childhood idea that “trees are brown”. There was little to no brown at all. So I went in the garage and pulled out some gray spray paint and applied it lightly using broad strokes. This let some of the base brown peek through a little, but the primary color became grey. The branch immediately started looking more real to my brain. I next hit it with a light dusting of some white that highlighted some of the texturing and things really started to pop. After all of that dried i did some dry brushing with some yellows, and tans to really bump up the color pallet. I even mixed some baking powder into some orange paint and dabbed it on in some places to look like lichen. The broken ends were then painted a lighter wood color for their base coat and I carefully painted in growth rings as well to really sell the effect. Once all the paint had dried, and I was satisfied with the look, I coated the whole thing in multiple coats of flat clear coat to protect the finish. A few days later once all of that had dried I broke out the hot glue gun and the bag of moss and glued moss in some of the crevices. The moss was also used to hide a few gaps needed for mechanical access.
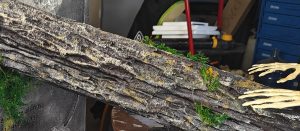
The end result is a pretty convincing branch from both at a distance and up close.
Amusing anecdote time. While I was waiting for all the paint to dry I noticed that one of the sections of pool noodle I had cut off and had used as a tester for the brown paint had never been hit with the heat gun. I decided to see what would happen if I took the heat gun to it after it had been painted. Like pre-painted noodles the noodle started shriveling however the paint caused the shriveling to take on a completely different texture that looked and felt even more like real tree bark. (It also outgassed a lot of nasty fumes from the paint) So, If you are working outdoors and want to up the texturing game even more. Try painting the foam with one coat before you heat gun it. you will have to go back and repaint, because the heating process will expose a lot of the underlying foam color again, but the increased realism might be worth it. I didn’t do it on this prop, but there will most likely be more trees in out future.
-John